Pages

Monday, October 24, 2011

I Heart Gray

Color is one of the easiest, and most inexpensive ways to bring life and personality to a space.  For no more than the cost of paint, you can virtually transform a room.  I love adding color to a space, but despite the infinite possibilities in the color wheel, I always resort to neutral palettes for their timeless appeal and soothing qualities.

My favorite neutral right now, seen everywhere, is gray.  Gray is mysterious and elusive.  It changes continuously depending on the lighting, and the objects and accessories it surrounds.  

There are cool grays with green and blue undertones...
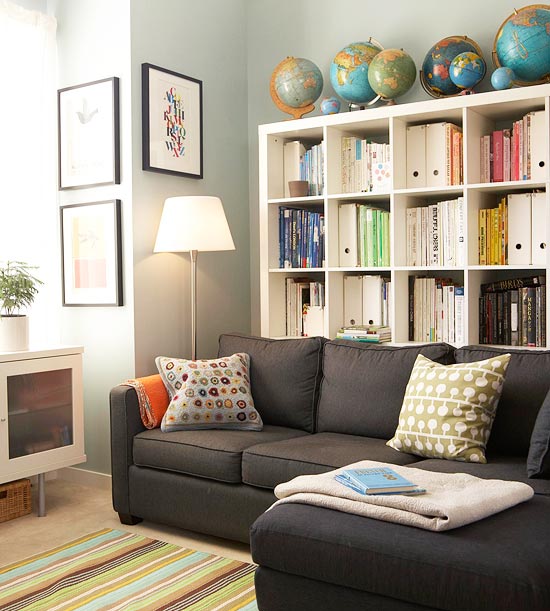
via Better Homes & Gardens


via Pinterest

and warm saturated grays with notes of violet and red.  

via Pinterest


The versatility of gray is endless.  It can be modern and masculine, classic and feminine - sometimes all at once.

via House Beautiful

Not sure how to make gray work for you?  One key to finding the right shade within a sea of options is to take hints from complementary colors in your space, and choose a gray with those undertones.

Gray varies greatly depending on the light.  Be sure you evaluate the color throughout the day in both natural and ambient lighting.  Paint the sample on each wall of your room for the best result.  

If you are unsure, consult a professional to help you.  It is well worth the hourly fee that most designers charge for a quick color consult to ensure you choose the right shade for your home.

Do you have any gray rooms in your home? Do you have a go-to gray that you recommend? Please do tell.


Thursday, October 6, 2011

Easy-Rise Autumn Pumpkin Bread

Oh Fall...how I love thee.  Cozy sweaters, cooler weather, tall boots and all things pumpkin.  Pumpkin Spice Lattes, toasted pumpkin seeds,  and of course...pumpkin bread. 


This is a delicious recipe for a quick-rise bread.  It doesn't contain any yeast, so the dough doesn't need to rest prior to baking.  You can have a delicious dessert or snack in just over an hour.


Since Mateo is apparently "too big" for naps these days, I decided to put him to work.


This was at the expense of my kitchen of course, which looks exactly as you would suspect with a 3-year-old operating my large stand-mixer.  But it's all good.  He is only young once, so I am going to enjoy it, and try not to take things too seriously.


This recipe makes three small loaves.


Ingredients
4 large eggs
2 cups sugar
1 cup packed light brown sugar
1 cup canola oil
2/3 cup of evaporated milk
1 (15 oz) can pumpkin
3 1/3 cups of all-purpose flour
2 tsp. baking soda
1 tsp. baking powder
1 tsp. salt
1 Tbsp. ground cinnamon
1 tsp. ground nutmeg
1/4 cup confectioner's sugar


Preheat the oven to 350 degrees.  Grease three 6-inch x 3-inch x 2-inch pans with non-stick spray or butter.


In a large mixing bowl, beat eggs, sugar, oil and milk.  Blend in pumpkin.  Combine flour, baking soda, baking powder, salt, cinnamon and nutmeg; add to pumpkin mixture and beat until combined.


Pour into pans.  Bake for 45 minutes or until a toothpick inserted in the center comes clean.  Cool for 15 minutes.  Loosen the sides from the pan with a butter knife, and invert the pan so the bread falls out.  Turn right side up and dust with confectioner's sugar.


You can have one for yourself, give one away and still have one more for your freezer.  Let's see if Mateo approved.


"More Mommy, MORE!"


 His reaction to my obvious answer when he requested a third slice. 


I guess that means it was good? Try it for yourself and see what you think.

Wednesday, October 5, 2011

30-Minute Linguine

I LOVE to cook.  With the addition of Luca (he is six months old today!),  I can count on one hand the number of times I have prepared a meal since he was born.  The result is, we eat the same things 3-4 nights a week (snooooooze).  Aggh! I must get my cooking groove back.  I am missing the variety in our diets.  And I am pretty sure it would be more economical to raise our own chickens with the amount of poultry we have consumed in recent months.

I came across this recipe at Luca's checkup this morning in Parenting magazine, and decided to test it out for lunch.  It's a 30 minute pasta by celebrity chef, Buddy Valastro, host of TLC's Cake Boss and Kitchen Boss.  I never really stick to the recipes, but I must give credit where credit is due.  I modified the original recipe, so following is my version.

I substituted shrimp for chicken (that is what I had in my fridge), and swapped the baby spinach for baby kale.  Did you know Kale is a superfood?  It's so delicious!  This pasta is fail-proof, and absolutely yummy.


Ingredients:
3/4 pint cherry tomatoes
1 tsp chopped fresh garlic
1/4 cup olive oil and more to taste
1/4 cup bread crumbs
1 box of linguine (I choose the Barilla multi-grain pasta in the yellow box)
2 tbsp butter (I recommend the Presidente brand)
1 lb chicken in 1-inch cubes
1/2 cup of dry white wine
2 cups of baby kale
salt & pepper to season
fresh grated parmesan

Preheat oven to 450 degrees.  In a baking dish, toss the cherry tomatoes, 1/4 cup of olive oil, 1 tsp of chopped fresh garlic.  Season with salt and pepper.  Roast in the oven for 10 minutes.  Remove from the oven, and mix in the bread crumbs.  Return to oven for 5 minutes.

In the meantime boil one box of linguine in generously salted water.

Meanwhile, heat a large saute' pan over medium heat with 2 tbsp of butter, and remaining chopped garlic.  Cook the chicken until golden brown on all sides, seasoning with salt and pepper.  De-glaze the pan with 1/2 cup of white wine.  Bring the wine sauce to a boil and reduce the heat to a simmer for 3-4 minutes.

Add the cherry tomato mixture, drained pasta and baby kale.  Toss well, and dig in! This recipe is perfect for busy families.  I can attest after making it for myself, it was ready in 30 minutes - tops.


Friday, September 30, 2011

Pottery Barn Side Table Makeover

I had my first experience with my new shipment of the highly-anticipated, Annie Sloan Chalk Paint, and it was a success! 


I found the paint to be very workable and forgiving, and this is coming from someone with limited experience painting furniture.  I tried not to read too many reviews on the product (everyone raves about it), because I didn't want it to influence my opinions.  But I have to say, I will definitely continue to use the paint, despite the hefty $35-a-pint price tag. 


Here is a picture of the piece in progress.   This is what the piece looked like during the first application of Annie Sloan's Country Gray.


As you can see, one coat allows the color underneath to show through.  The paint was developed to provide a great deal of versatility.  According to Annie Sloan's website, the paint can be diluted with water to create a "wash" of color.  The paint can also be thickened by allowing it to set overnight with the paint can opened, which will provide a textured effect.


I will provide a more detailed product review in an upcoming post, but first, I wanted to share the finished product with you.  I just love how the Pottery Barn side tables turned out.  


Here is a picture of one side table before.


And the end result.


The color I chose was Country Gray.  It is almost a pale, pistachio green.  The paint dries in a soft matte finish shown above.  When you wax it (recommended), it turns slightly darker with a subtle sheen.  The proprietary wax also offers versatility when distressing the furniture, while providing some protection.  


I chose not to distress these side tables because I loved how pretty they were in one solid color.  I am just going to let the pieces distress naturally with normal wear and tear. 


I dressed these babies up with some gorgeous, vintage-inspired drawer pulls purchased at Anthropologie.  They have an incredibly unique selection of hardware.  It can get pretty pricey, but I was able to purchase these pulls for $8 each.  They are the jewelry, after all.  Since I only needed four, it was worth the extra splurge.


I also lined the drawers with some linen wrapping paper purchased from World Market for just $3 a roll.  This was a huge upgrade from the standard shelf liners, and it's cheaper too!  


I measured the sides and bottom of the drawer, and cut the paper to fit as shown here. 


I adhered the paper to the drawers using a spray adhesive.  I had Elmer's Spray Adhesive in my arsenal, but there are several different brands.  It is holding up OK so far, but I think next time I will use a stronger bonding agent such as Mod Podge.  If you go the spray adhesive route, make sure you lay a cloth on your surface prior to spraying. Then attach the wrapping paper to the inside of the drawers, making sure to apply enough pressure to eliminate any ripples.  


So there you have it.  These side tables will be right at home in my newly-painted guest room/office.  I love how the room is coming along.  I can't wait to have my own sanctuary to sip my morning coffee. 


Let me know what you think!  

Wednesday, September 28, 2011

Mother Nature Strikes Again - Literally

What a crazy week it has been already.  Hubby is in Miami for business, and I am home with two sick kiddos.  I guess its Murphy’s Law—they seem to get sick every time I am home alone.
But I am not letting that keep me down – no ma’am. In fact, I realized how much more productive I can be when home alone.  I have to keep myself busy, otherwise it feels awfully lonely in this big ‘ole house.

Not to mention, we had a huge thunder and lighting storm that caused a power surge in the upstairs bathroom.  The kids and I were in the kitchen having dinner, when I heard a huge crash.  Immediately, the smoke alarms triggered.  I thought surely the painfully ear-piercing sound would send the children into frenzy.  They were surprisingly calm.

I was certain the house was hit by lightning (I was right), and immediately tried to gather my senses and stay calm for the kids.  I looked upstairs, and glanced outside for any signs of smoke, but I couldn’t see anything.  I noticed the upstairs smelled like something was burning.  I didn’t waste any more time, and immediately called 911 to send the fire department.

It appears the lightning struck somewhere on the roof.  We are so fortunate the house did not catch fire.  A nearby neighborhood was struck with a bolt of lightning that burned down the entire movie set of the Alamo, in addition to starting a fire that spread 200 acres.  It is devastating the destruction we have had from wildfires the last few weeks.  My heart goes out to the local families and businesses affected by the recent disasters.

Here is the picture of the bathroom, post-storm.  Sorry for the dark picture but, there were no lights after the blowout. There was some minor damage, but overall, nothing major.  Needless to say, it could have been much worse.
I see more painting in my near future. Any suggestions?  This bathroom is screaming for some color.  While I am at it, I will certainly change the hideous builder-globe.  Yuck!
On a lighter note, my shipment of Annie Sloan Chalk Paint arrived last week, and I have been dying to start experimenting.  I chose Country Grey, and the standby, Old White.


Here is a sneak peak of the piece of furniture that I will be repainting.
Stay tuned for the transformation.  I have a set of these Pottery Barn pieces that I (over) paid for a couple years ago.  And they have been darkening up my guest room ever since.  I can't wait to make them over, and share pictures of my new guest room/work space.

Monday, September 12, 2011

DIY: Sake Bottle Planter

Hi All! I thought I would share a simple project that I did for a friend over the weekend.  You can do this simple DIY project in less than 30 minutes. 

I went out to dinner with my in-laws and hubby at a fabulous Japanese fusion restaurant a couple months ago.  Of course, Japanese cuisine would not be complete with out sake.  When they delivered the frosted pink bottle to the table, my mother-in-law commented on how pretty it was - too pretty to leave at the table to ultimately end up in the trash.


I just love everything about this bottle - the cotton-candy-pink color, shape, and particularly, the artistic label. We just had to order a second bottle for each of us to take home.  I thought it would make the perfect flower vase on a bedside table.  I made one for my friend Lauren, and she liked it so much, she asked me to make another!  Check out the end result...


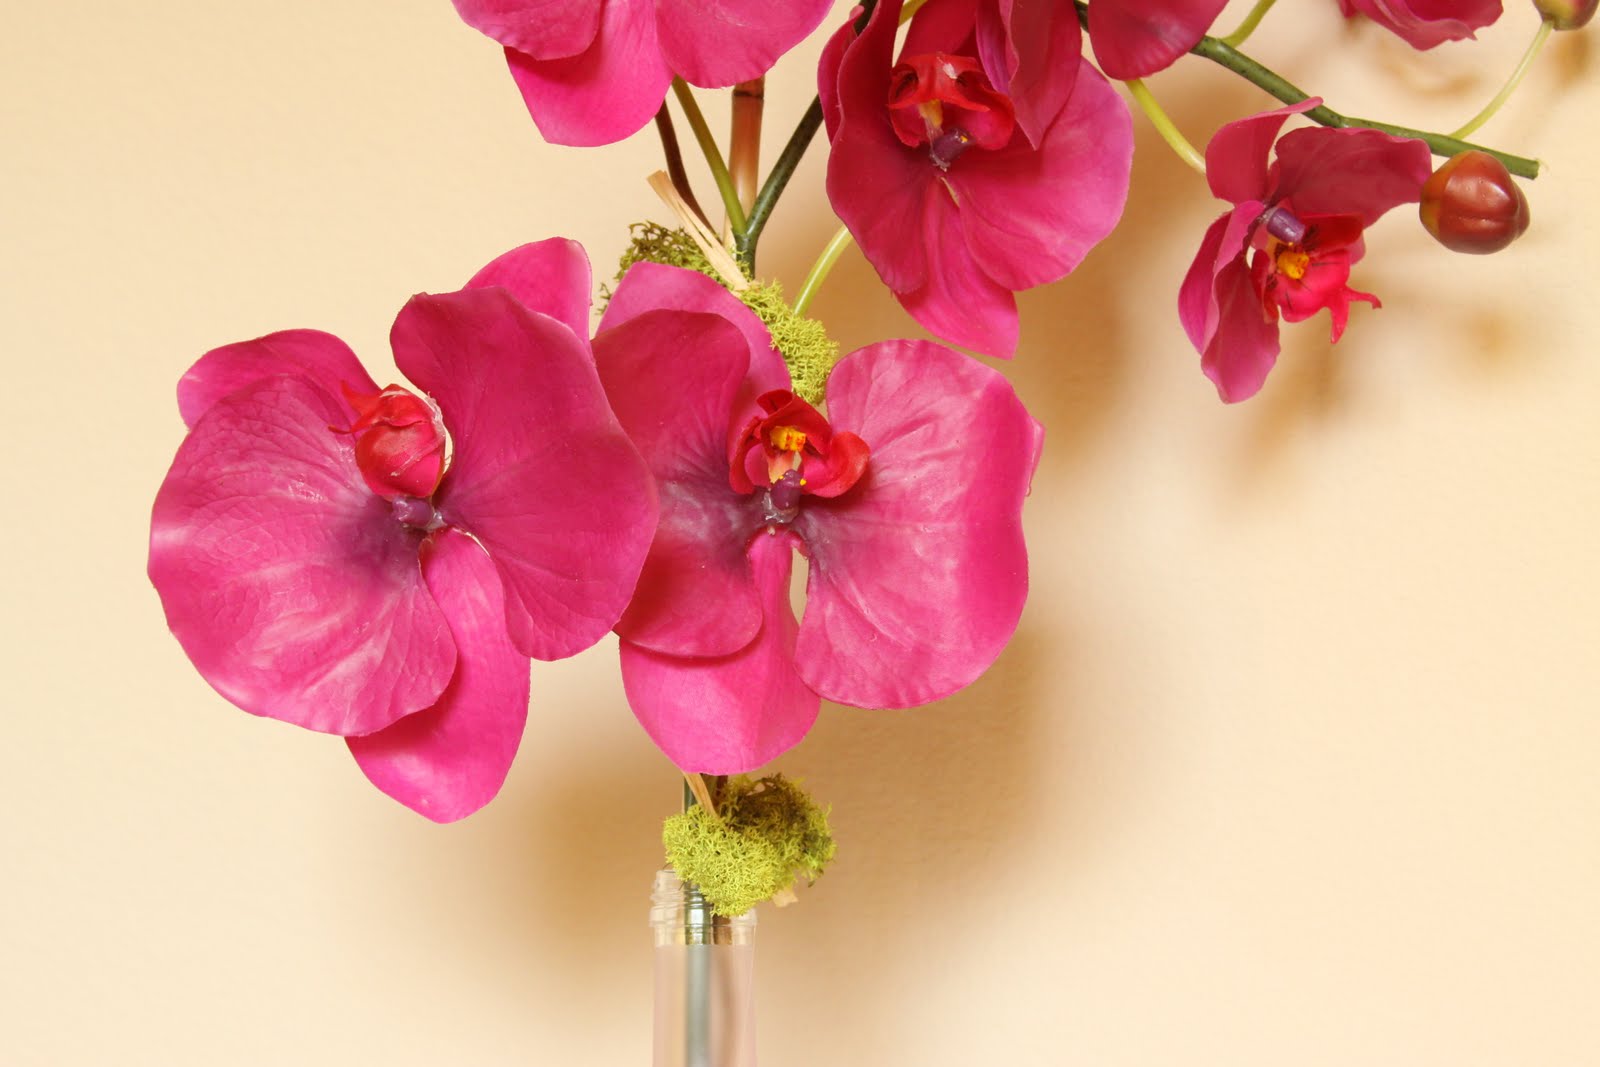
This planter couldn't be simpler.  I started with a fuchsia Phalaenopsis orchid stem which I purchased from Michael's for about $9.99.  Using heaving duty wire clippers from hubby's collection, I clipped a few inches from the orchid stem to achieve the desired height.  I attached the orchid stem to a bamboo reed using some floral wire.  You can trim the top of the bamboo reed so it extends a couple inches beyond the top of the orchid.  

One simple trick to adding some detail to a store-bought arrangement is to secure a touch of high-quality moss to the stem using some raffia.  You can tie it to make a simple loop, or leave the edges frayed for a casual look.  Secure the moss to the stem with a touch of hot glue.   

I completed to the look with a simple stem of curly willow, and voila! A simple Sake bottle planter. 


Hope you like!